Showing posts with label Tulle. Show all posts

Wednesday, July 25, 2012

Weekend Pajama Party: Tulle Rosette Topiary

You might recognize this topiary from my friend Katie's baby shower that I posted a few weeks ago. {You can see it HERE.} It goes along with THIS matching wreath.  I love how soft and girly  it turned out.  Here's how I did it!
 I made the rosettes using THESE instructions and then tucked a piece of light green tulle behind the rosettes to add just a touch of contrast.  {Using pearlized corsage pins adds a fancy touch.}
 I made a variety of roses by varying how tight I wrapped the tulle.  I like the bigger rosettes for the look of this topiary, plus the bigger the roses, the fewer you have to make.
I used this cute box I got at Tai Pan a few months ago and painted it cream. 
Next, I wrapped some tulle around the stem and tied a bow around the top. 
Finally, I pinned green tulle at the base to cover the Styrofoam bottom.
Super easy and so beautiful!  
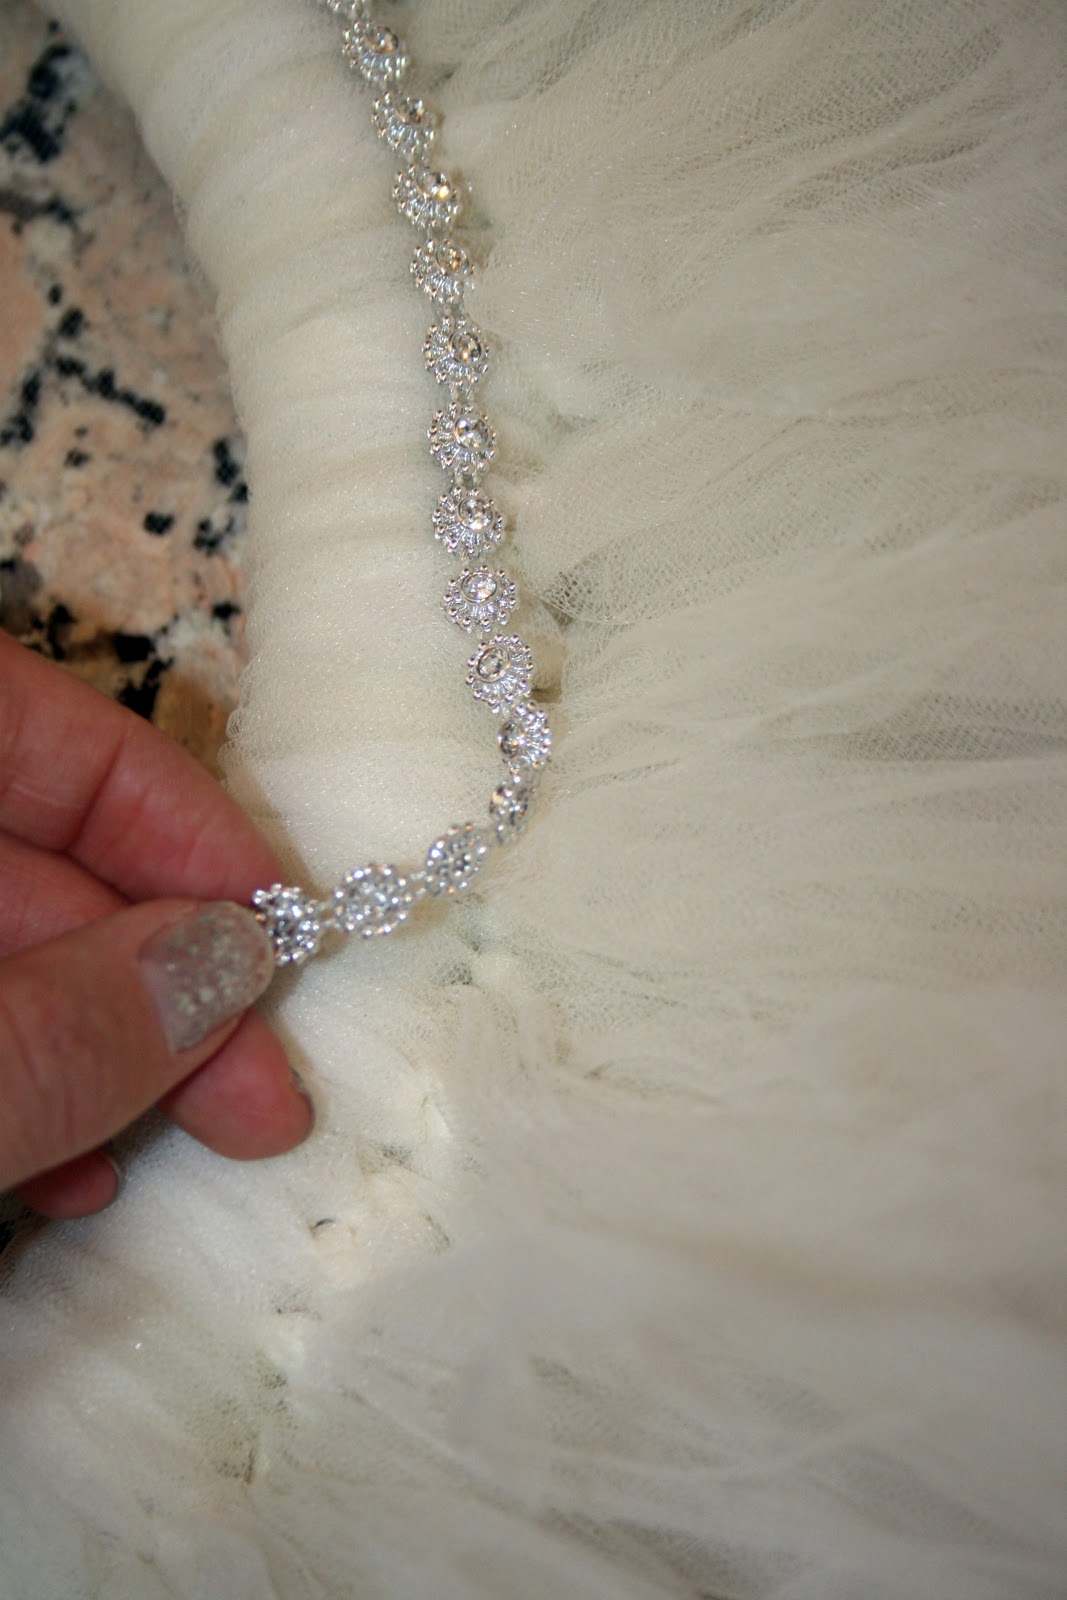
Another fun version I can't wait to make is a red one and add some bling for Christmas or Valentine's Day!  I'm feeling a Pajama Crafting Day coming on already!  :)

Have fun making the world a cuter place!

~ Cindy Jane

Tulle Rosette Tutorial


These tulle rosettes are SO easy to make and can be used in a variety of projects like this wreath and this topiary.  Here's how you can do it too!
I cut tulle into 3 - 4 inch strips....lots and lots and lots of strips!  The easiest way to do it is to fold the tulle {lengthwise} into fourths, kind of bunch it together, and then cut. 
You'll end up with a strip that is about 2 yards long and 3 - 4 inches wide.
 I'm right handed, so I held onto the tulle with my left thumb and started wrapping it. 
 Then I loosely turned it until it looked like this...it took about 5 wraps.
Next, I formed the "bud" of the flower.  I gently unwrapped it from my fingers and held onto it with my thumb.  Then I wrapped the tulle around one side a few times, and then gradually turned it like I was making a ball of tulle...because really that IS all you're going to do! 
See!  I told you it was simple.  :)
The only tricky part is if you need a lot of flowers, so it makes a perfect tv project. 
Just remember, the tighter you wrap the tulle, the smaller the rose and vise versa.  I like to have a variety of sizes when I do projects like this.
 When you've wrapped all the tulle, put a corsage pin in the center and you're done!

Have fun making these gorgeous roses &
making the world a cuter place!

~Cindy Jane


Thursday, February 9, 2012

Tulle Diamond Wreath & Nickel Love!


Marilyn Monroe was right. Diamonds are a girl's best friend....especially around Valentine's Day!  Plus, it's always fun to come up with an excuse to add BLING to an already colorful wreath.  Here's how you can do it too!

Materials:
10 yards fuchsia tulle
10 inch white Styrofoam wreath
1 package Martha Stewart Dimensional Diamond stickers
1 package Jolee's All That Bling stickers (my new favorite thing)
12 inch wooden letters
sandpaper
white primer
silver metallic spray paint
hot glue
$12 in nickels

Tulle rosettes
I made a variety of sizes of roses.  For the larger ones, I cut 2 strips of tulle into 2 inch x 54 inch strips and layered the pieces on top of each other for added thickness.   For smaller roses, I cut 2 inch x 27 inch strips.
Step 1:  With the two pieces of tulle, roll it to form the center of the rose.  Add a dab of hot glue to hold it in place.
Step 2: While pinching the base with your left hand, hold the length side of the tulle and begin twisting and looping it around the center of the rose.  Add glue when the rose begins to form.  Remember to glue low so the dried glue doesn't show.
 Step 3: Keep twisting and gluing with every few twists of the wrist.
 Step 4: When you come to the end of the tulle, add a thin strip of glue.
Finished product!
But it's so much better with the bling!

Putting it all together
Step 1: Wrap the wreath with fuchsia tulle to help hide any white spots when you glue the flowers.

Step 2: Add a loop of tulle to the back of the wreath for hanging.

 Step 3: Place the larger roses on the wreath first.  This helps balance the wreath out and makes the placement of the smaller roses much easier.
 Step 4: Glue all of the roses and then add the diamonds where you think they fit best.

Wooden Letters

Sand 
 Prime and paint
Lay out the nickels to make sure they all fit. 
 Glue them in place.  Don't worry, the guy at the bank said it isn't defacing currency to glue Thomas Jefferson to wooden letters, and they'll pop right off if you ever need a few extra cents for the ice cream man. :)
Hang it and LOVE it!  This would be super cute in a little girl's room all year round. 

Have fun!
~ Cindy Jane

Monday, January 23, 2012

Rhinestone & Tulle Wreath


Love is in the air!  Valentine's Day is almost here and this is the perfect wreath to glitz up your home, especially if red and white aren't in your color scheme.  I was inspired by a wreath I saw here and you can easily make your own too!

What you will need:
10 inch green Styrofoam wreath
10-12 yards of ivory tulle
white or cream fabric to cover the wreath
hot glue gun and glue
2 yards of rhinestones....you might want to get a little extra just in case
The rhinestones I used were regularly priced at $17 per yard but you can get them cheaper online


Step 1: Cover your green Styrofoam wreath in a white or cream material so the green doesn't show through. When I did this wreath, the best thing I could find at 2 a.m. was Aluminum foil tape and it did the trick.


Step 2: Cut the tulle into 2 1/2 x 26 inch strips.


Step 3: Tie the tulle strips in double knots around the wreath.  I doubled up the strips and tied two at a time to give it extra fullness and make it go faster.


Keep tying...and tying...and tying!

Repeat until it is full and fluffy! 


Step 4: Add your glitz! Using hot glue, glue the rhinestones to cover the knots. 


Add the second layer of rhinestones, or a third!  :)


Step 5: Tie a knot in one of the strips of tulle to hang it and now the world is a cuter place all because of you!


Have fun!

~ Cindy Jane