

I love using burlap and wanted to try something different for a Valentine's Day wreath. My sister gave me the great idea to do this one. I've attempted to make similar wreaths using crepe paper but I didn't have the patience for them. This wreath was time consuming, but burlap is SO much easier to use and I really like how it turned out so it was worth it.
What I used: 10 inch Styrofoam wreath
8ish yards of red burlapGlue gun and lots of glue sticks
A vacuum cleaner many times during this project...burlap is MESSY!
Take my advice and cut the burlap strips outside.

Step One: Cut out a lot of burlap! I made small and large roses. For the smaller roses I cut out strips of burlap that were 13 inches long and 1 & 1/2 inches wide (the width doesn't have to be exact, but it's better to make the strips wider than thinner). The larger roses were made out of strips that were 26 inches long and 1 & 1/2 inches wide.
How to Cut Burlap in a Straight Line


Pull the string out slowly so it doesn't break. If it does, no worries, just find the string and keep going.

Now you've got a nice straight line to cut. :)
Step Two: Make lots and lots of burlap roses. I stopped counting at about 120. This is definitely a project to do in front of a TV or with friends.
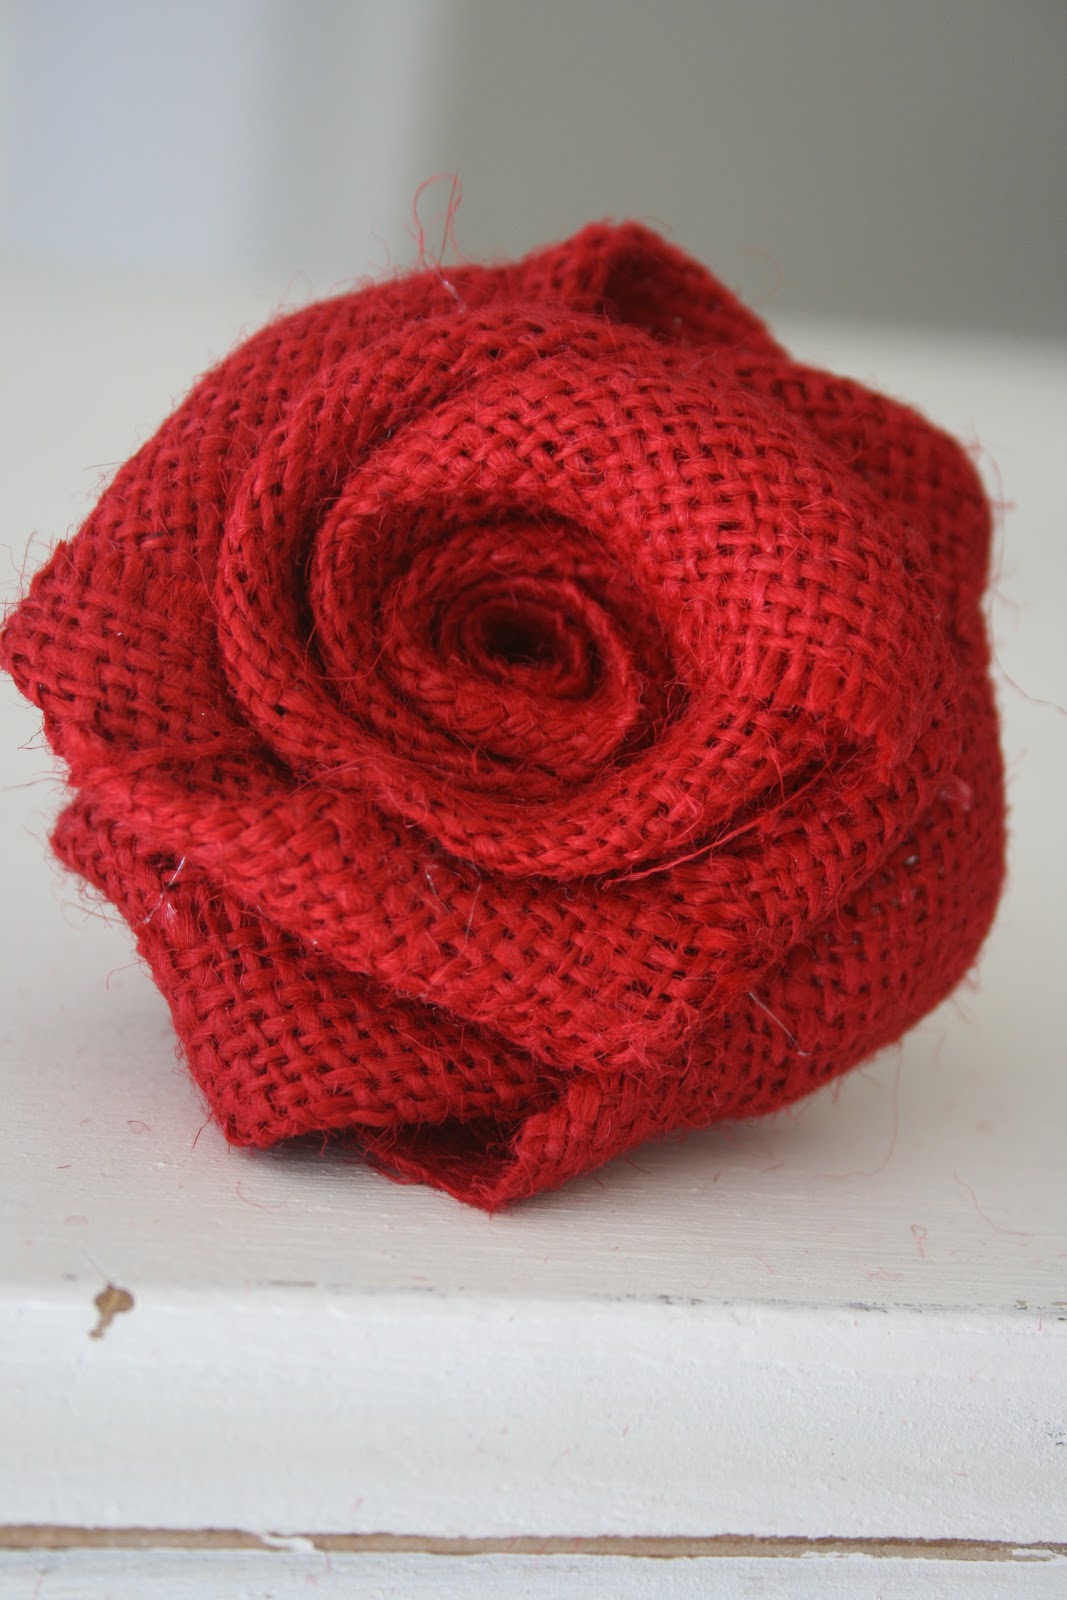

Roll the burlap three or four times to make the center of the rose.

Glue at the bottom of the petal that is beginning to form. Make sure you glue low so the dried glue isn't seen. Nobody likes looking at a sloppy rose....or 100 sloppy roses for that matter.

As you hold the base with your left hand (if you're right-handed), continue to wrap the burlap around the center of the rose with your right hand while twisting it towards you. This will give it a full look and keep it together.

Continue to glue the burlap after every few wraps and twists of your wrist.

At the end of the strip, put a generous amount of glue on the remaining flap and press it down with scissor sheers until it is dry.
Now repeat 100+ times. :) The smaller ones took me about 2 minutes each and the large ones about 5 minutes. It's time consuming, but a great de-stresser.
Step Three: Glue the roses onto your Styrofoam wreath. I used hot glue and it was pretty fast. There will be a "stem" at the end of the roses that you can trim down to help the roses fit into place better on the wreath.

I placed the large roses in and then placed the smaller ones to fill in holes. There were still some white spots showing through so I cut dime sized pieces of burlap and glued them in the gaps so it looked really clean.
There's the finished product. I think it definitely helps make the world a cuter place. :)
One More Wreath
I had some extra roses left over and an extra burlap wreath from my last post. I added them together and this is what I came up with.

I relish, result in I found exactly what I was having a look for. You've ended my four day long hunt! God Bless you man. Have a great day. Bye
ReplyDeleteNutcase Silver Sparkle Bike Helmet
So glad you liked it! It was a fun project!
ReplyDeleteDid it really take 8 yards??? I am going to try my hand at this but that sounded like a lot of burlap...thanks for the tutorial!!!!
ReplyDeleteThis is so cute! Did you find red burlap or dye it yourself? Makes my hands itch just thinking of rolling that many roses. You did a great job with them.
ReplyDeleteI was wondering the same thing! 8 yards of fabric on the bolt? It cAnt be!
Delete